Model Kit
You are currently browsing the articles from ken-cheong.com matching the category Model Kit.
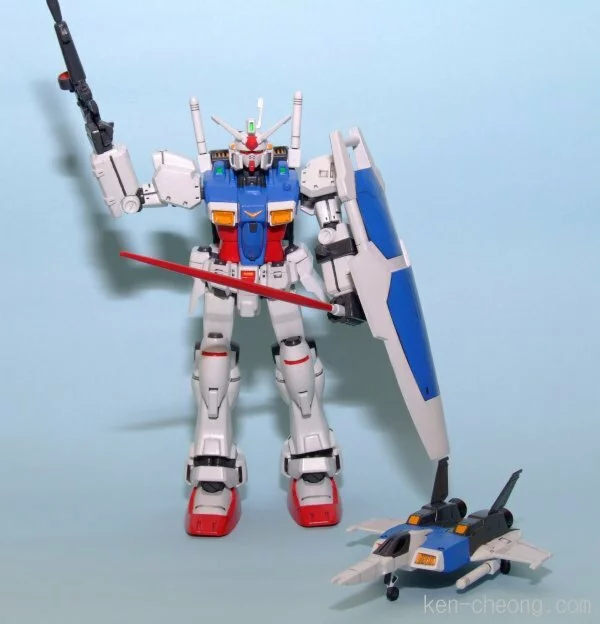
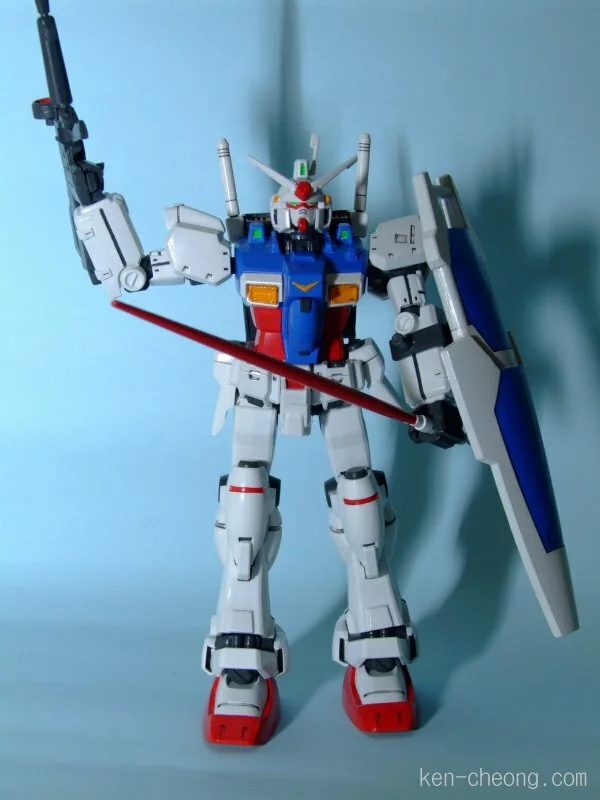
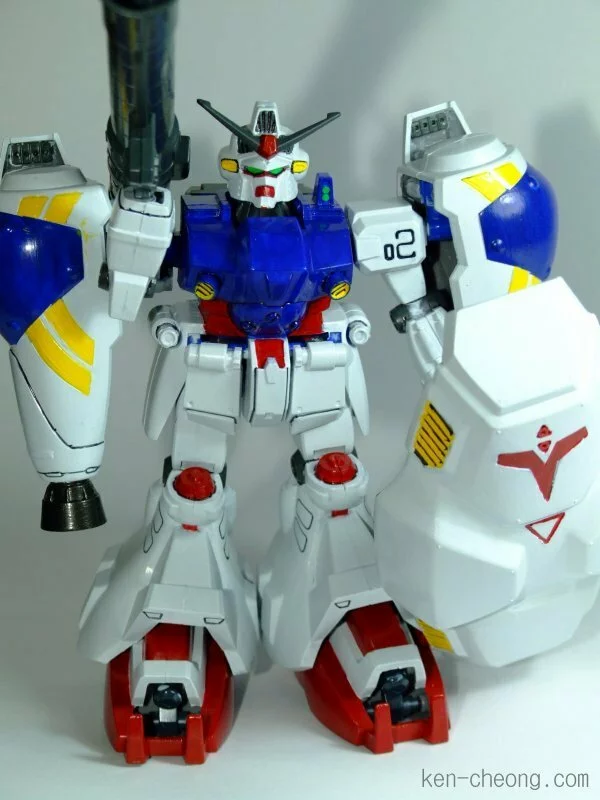
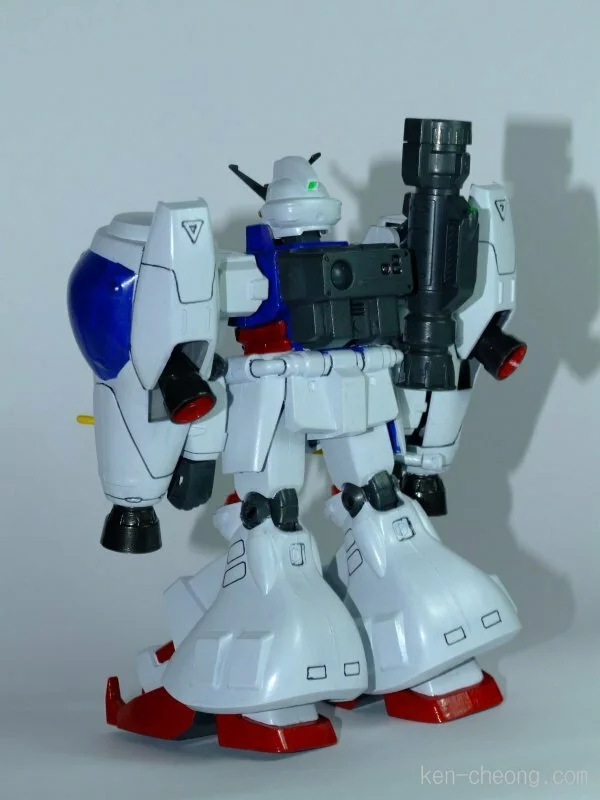
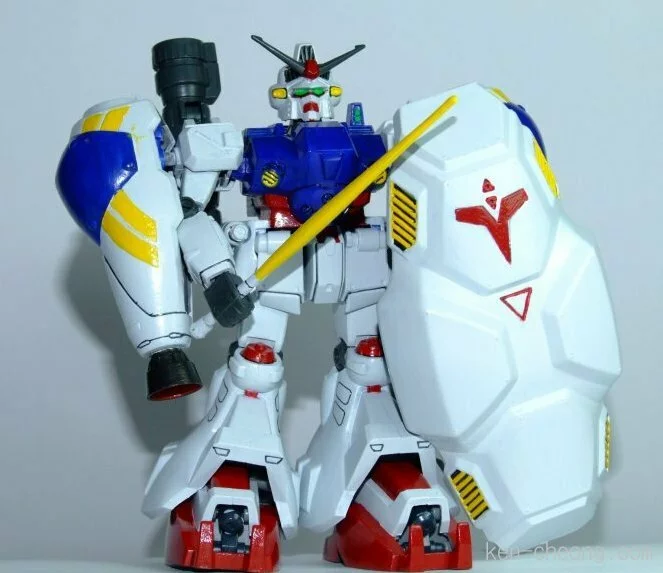
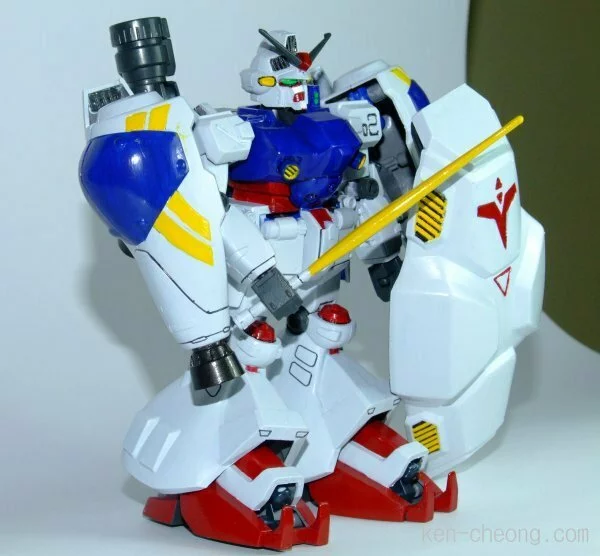
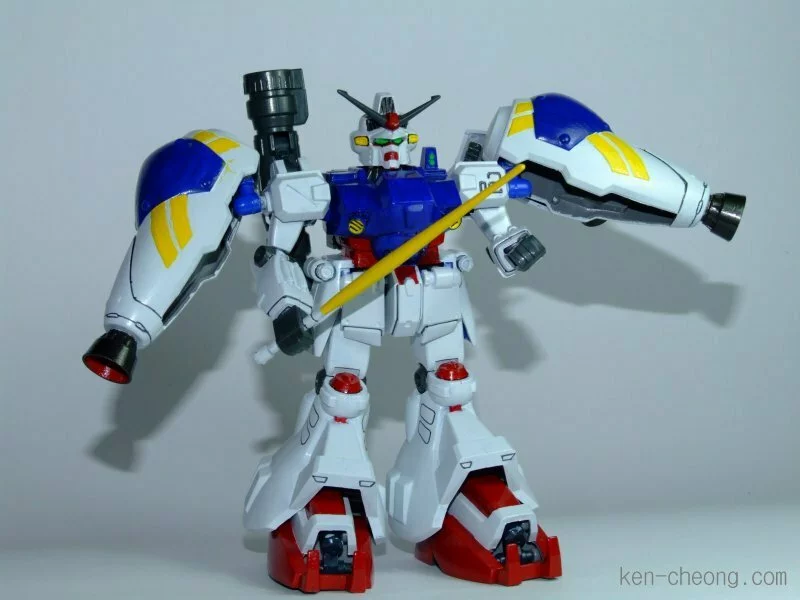
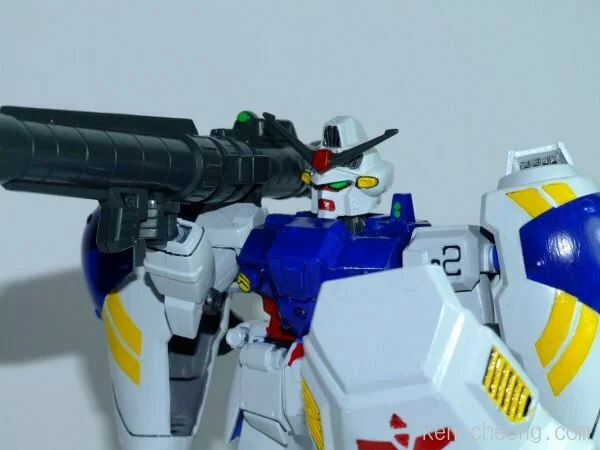
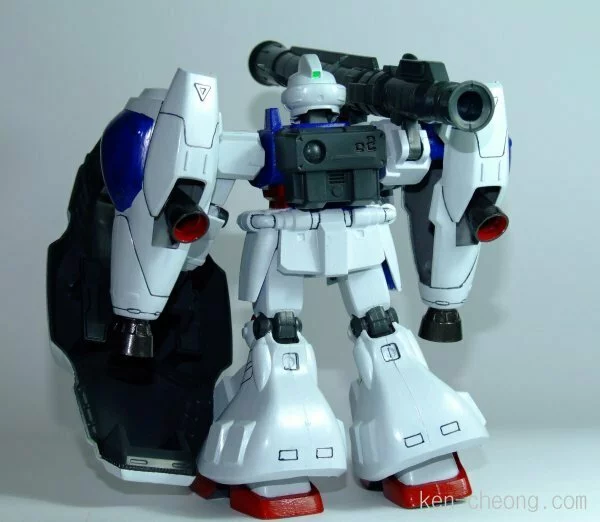
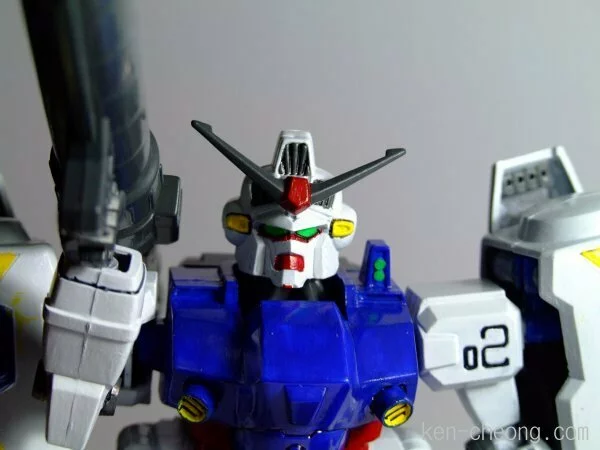
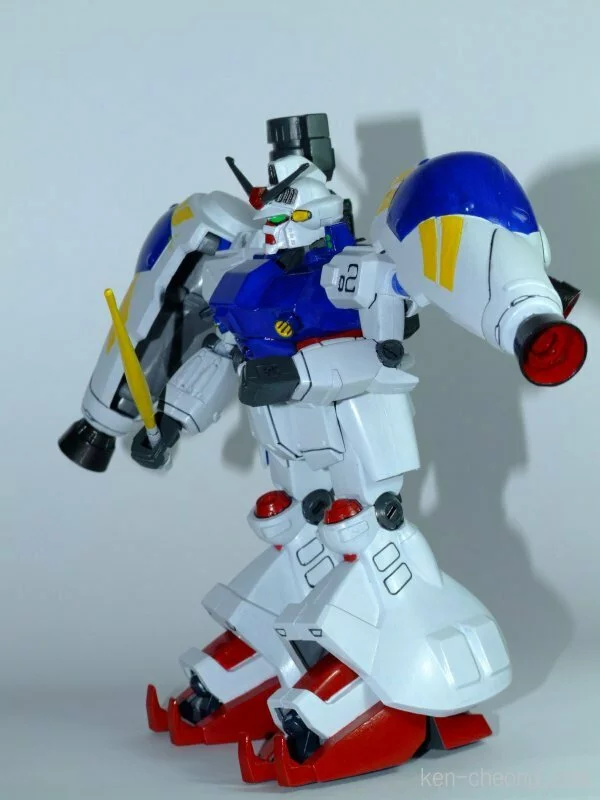
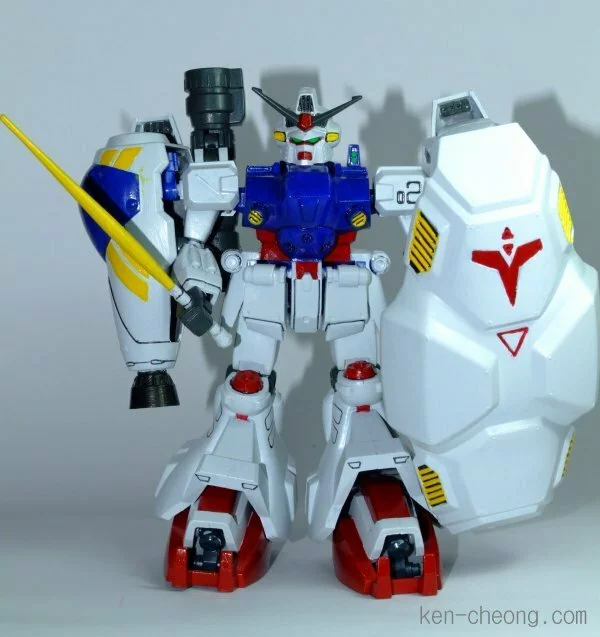
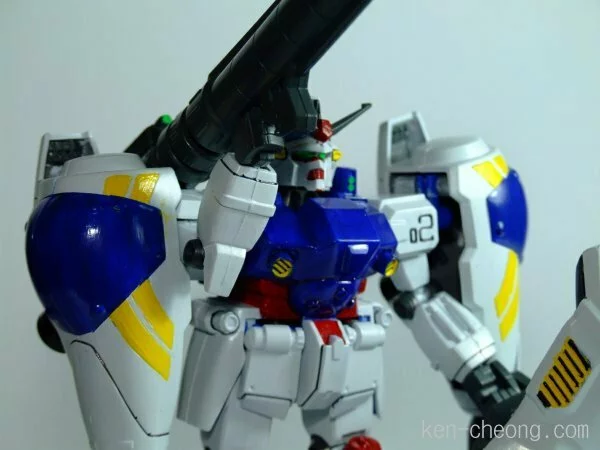
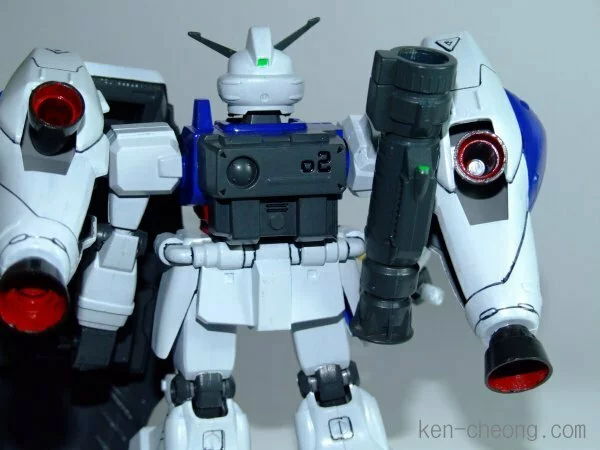
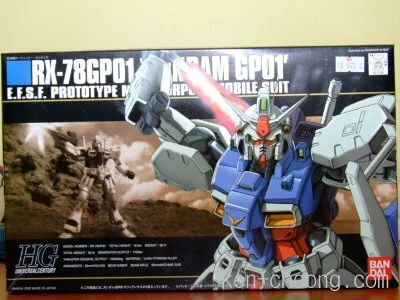
This is a HGUC 1/144 Gundam RX78 GP01 that was featured in the anime Gundam 0083 Stardust Memory.
You can view the work in progress for this kit here.
All pictures were taken with my Fujifilm Finepix S9500 + Vivitar 728 flash.
(more…)
Written by Ken on September 5th, 2006 with 2 comments.
Read more articles on Blog and Gallery and Model Kit.
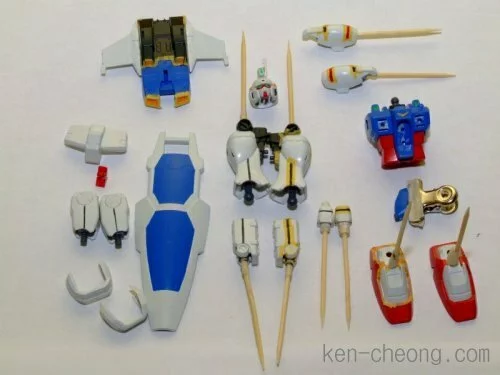
I build the GP01 to complement my previously painted GP02. You can have a look at the GP02 here. The GP01 is a HGUC 1/144 and took me roughly two months to complete. There were a lot of new discoveries and trials and errors during the entire build process. I did a lot of things for the first time building the GP01 such as using putty to fill gaps and using oil paint to wash panel lines. I’ll show some of the things that I’ve done here in this post.
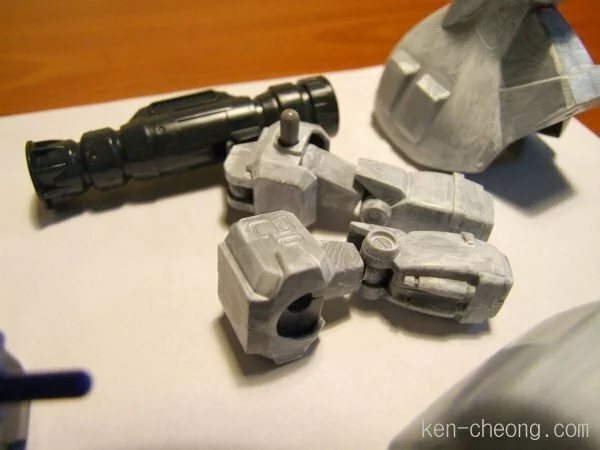
Using Putty:
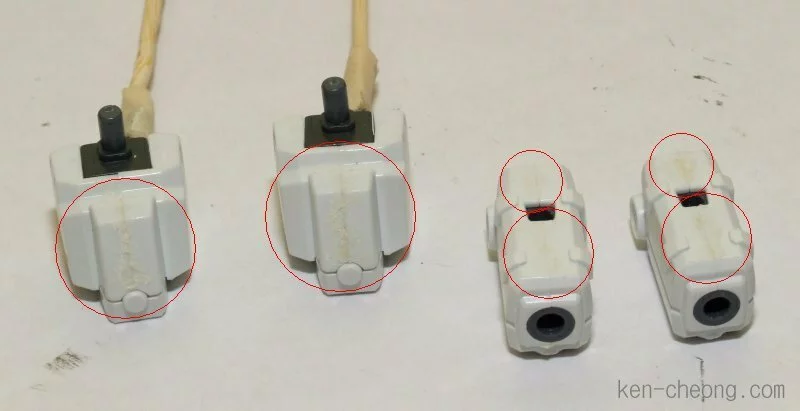
As this is a HGUC 1/144 kit, there were lots of gaps between joined parts and I used Mr. Putty to fill these gaps. Using Mr. Putty can be frustrating because it dries too fast, way too fast. It practically dries up right after you squeeze it out of the tube. Because of this I had to work very fast. I used a skewer to apply the putty to the gaps but it would be better to use something with a thin and flat surface.
After the putty has cured, I used 1000 grid sand paper to sand it until smooth. After sanding I noticed that some gaps were still not filled properly but I was so frustrated with using putty, I just leave them be and not bother to apply another layer of putty.
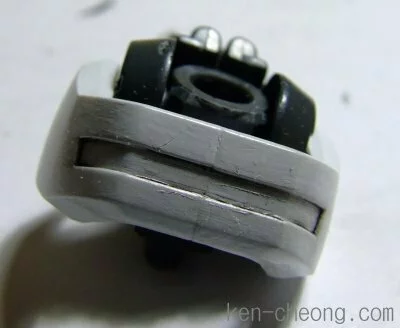
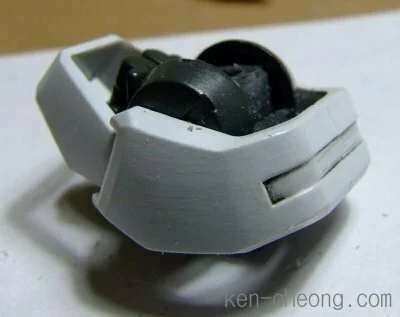
The pictures below show the before and after of sanding smooth the cured putty.
| |
| Before sanding. |
|
| After sanding. |
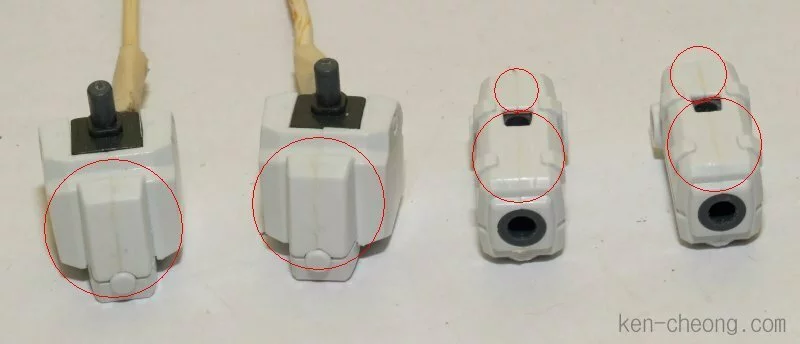
|
| More parts after sanding. |
|
|
| |
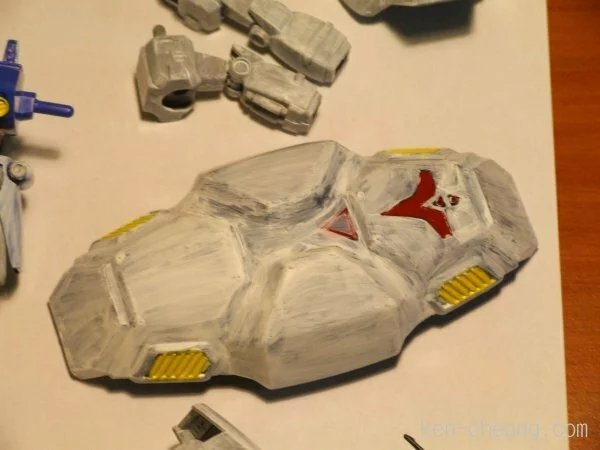
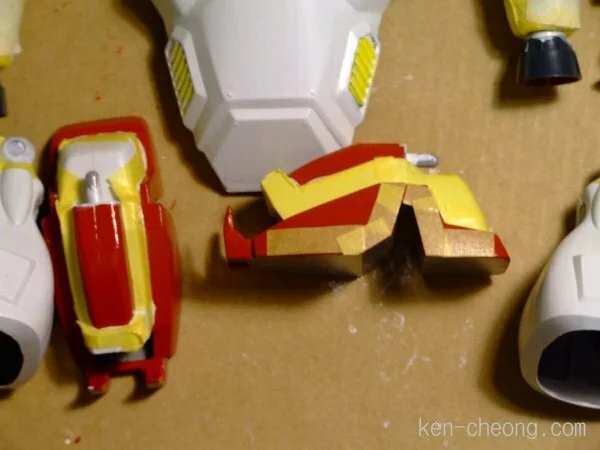
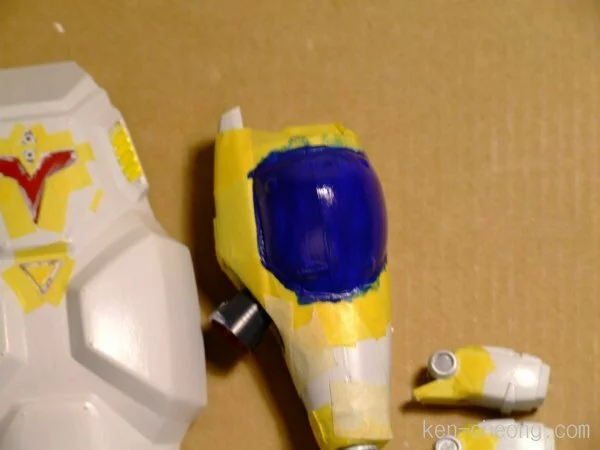
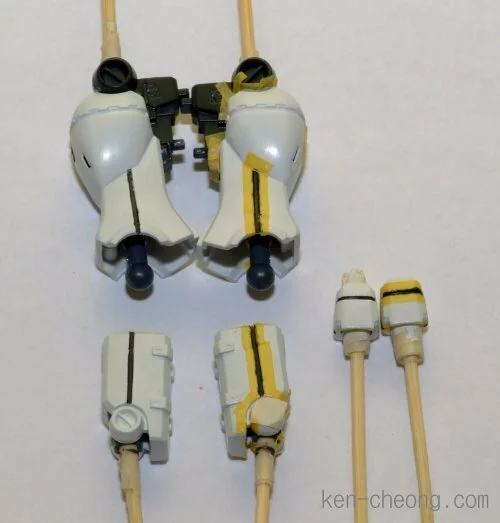
Masking and Painting:
As I still do not own an airbrush set yet, I had to resort to hand painting with brushes. As before, I prime the parts with Mr. White Base first before painting. Painting was relatively straightforward. Just make sure that you add some Mr. Retarder Mild to the paint to prevent it from drying too fast.
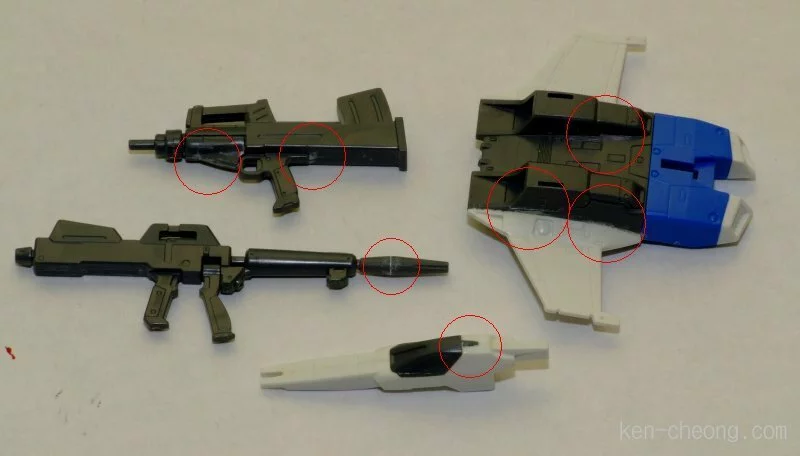
I also apply masking to certain parts to make sure that they don’t get painted over accidentally.
| |
| Parts masked and painted. |
|
|
|
| |
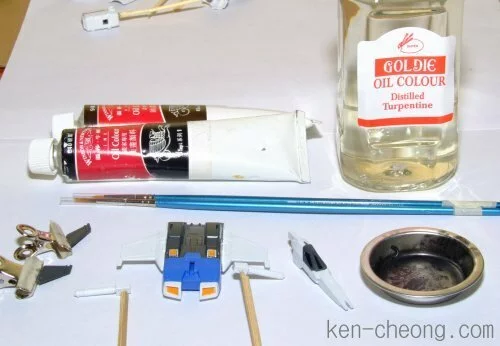
Panel Lining:
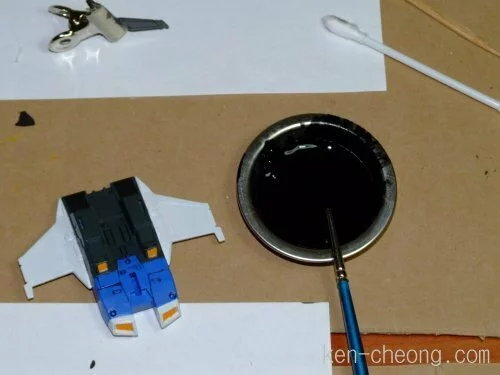
Panel lining was done after all parts had been painted. I used the wash technique with artist oil to paint the panel lines.
Artist oils are relatively cheap and a tube can last for approximately 20 light years. To thin the artist oil I use distilled turpentine. Thin the artist oil to a watery form and use a small brush to wash the panel lines. Most of the time you don’t have to paint over the entire panel line with the brush. Just make sure the brush had soaked up enough paint and simply place the brush tip at one end of the panel line and the paint will flow and fill the entire line. If it doesn’t then you’ll have to lightly paint over the line.
If you accidentally painted outside of the panel line, just wipe the paint off with a piece of tissue paper. I usually wait for about 30 seconds to a minute before wiping of excess paint. If there is still stain of the surface of the kit, just use a rubber eraser to rub it off.
One good point of using turpentine to thin the artist oil is that it dries very slowly and hence gives you more time to work but this is also its bad point. Since it dries very slowly, your fingers might accidentally touches the wet paint and then transfer it to other parts of the surface and make the whole thing a mess. But the mess can be easily cleaned up with a piece of tissue paper and a rubber eraser.
| |
| Artist oil, distilled turpentine, and brush for panel line washing. |
|
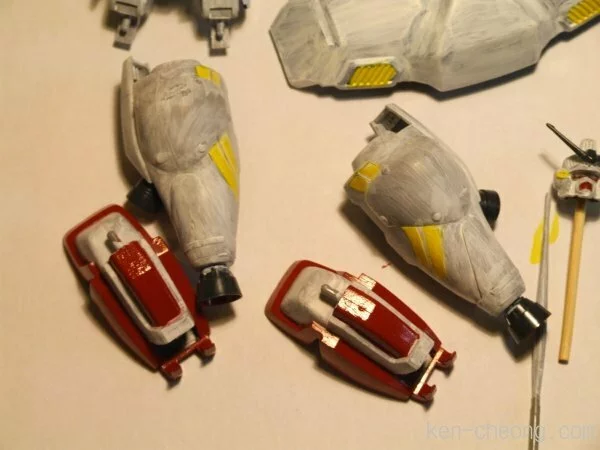
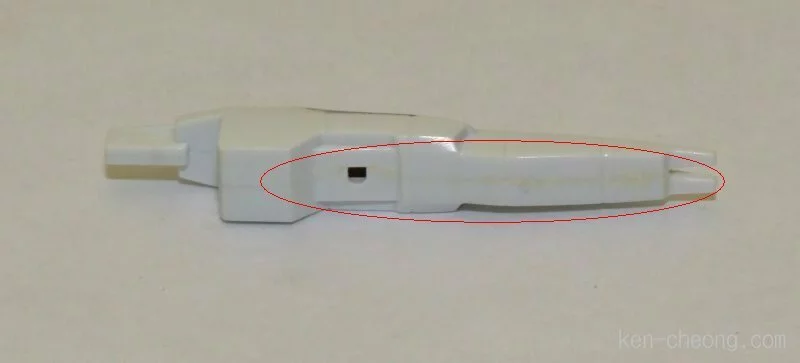
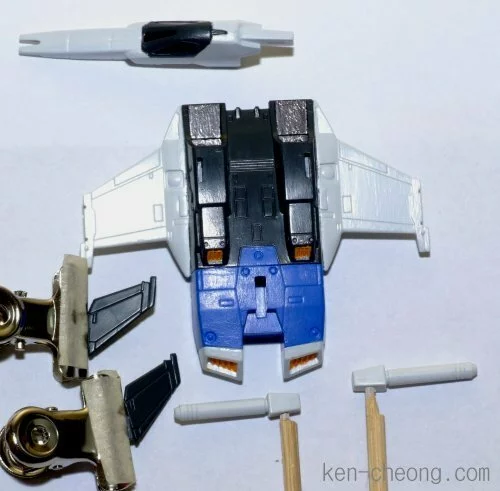
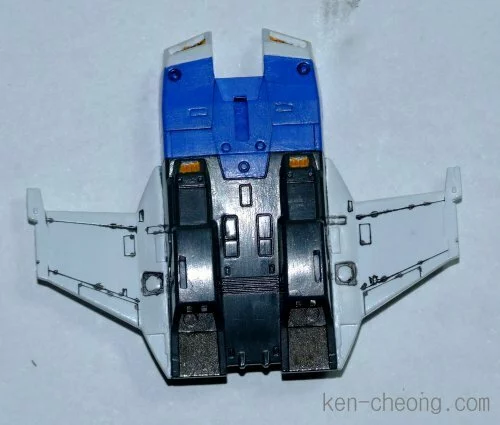
| |
| Parts painted and ready for panel lining. |
|
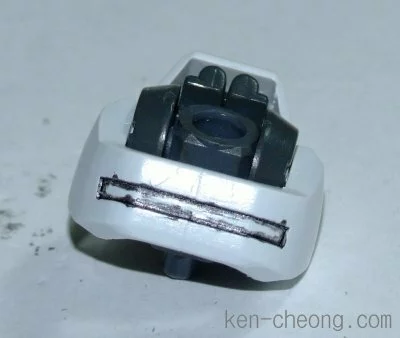
| |
| During panel lining. |
|
|
|
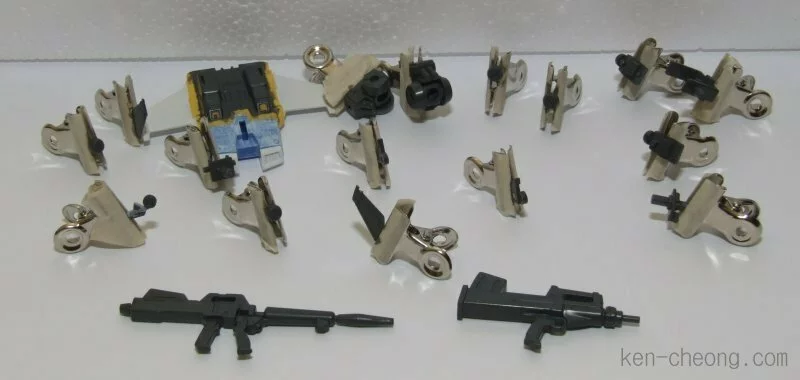
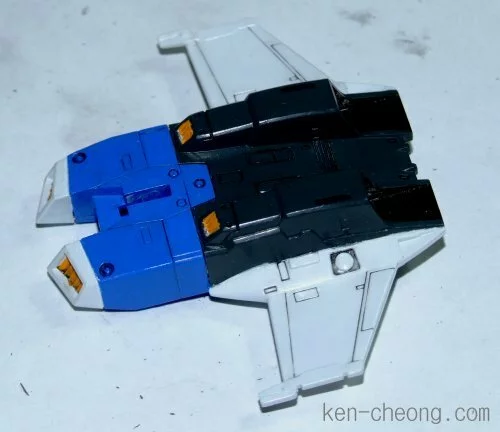
| |
| After panel lining. |
|
|
|
| |
See the gallery of the completed Gundam RX78 GP01 here.
Written by Ken on September 5th, 2006 with 4 comments.
Read more articles on Blog and Model Kit.
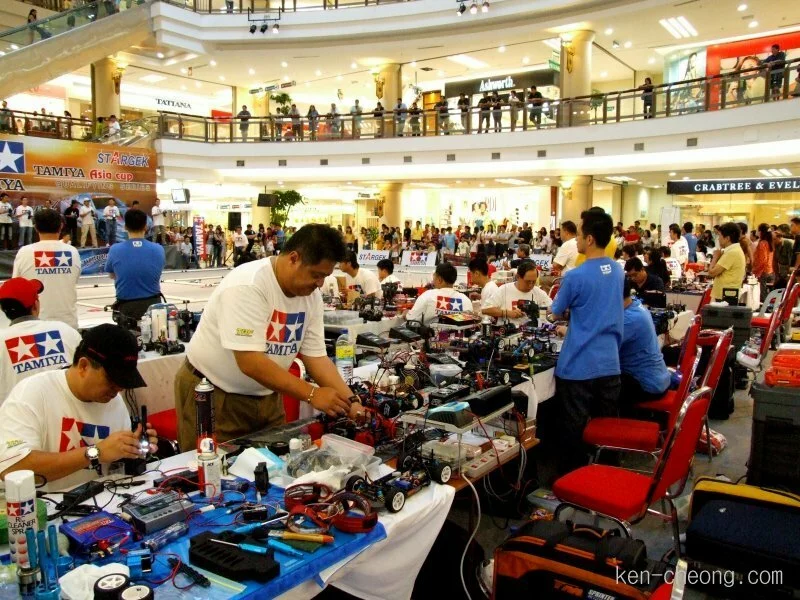
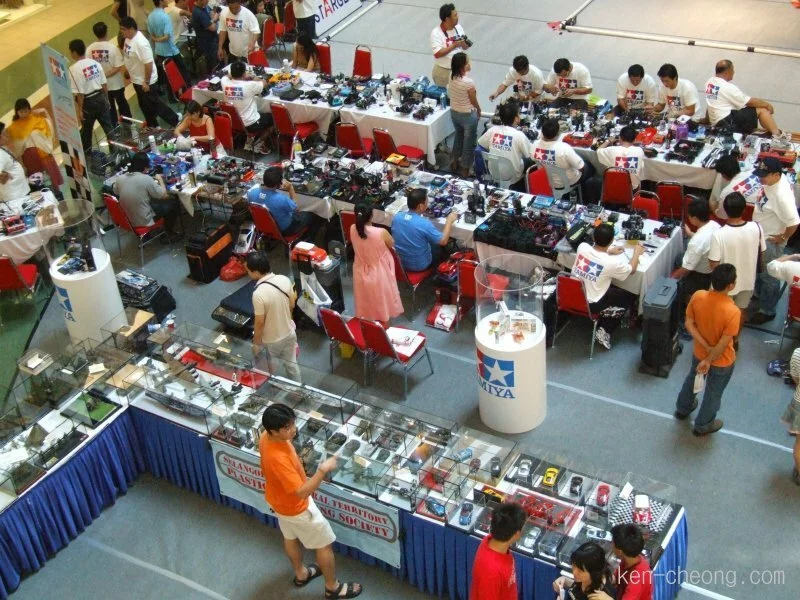
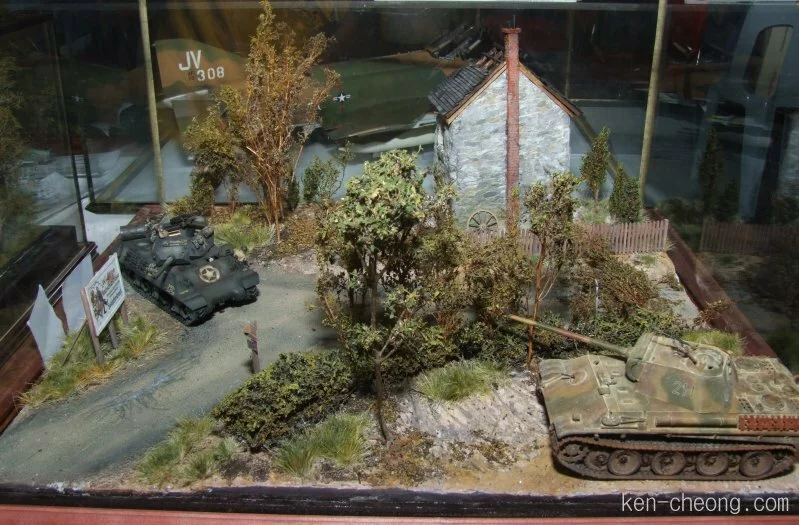
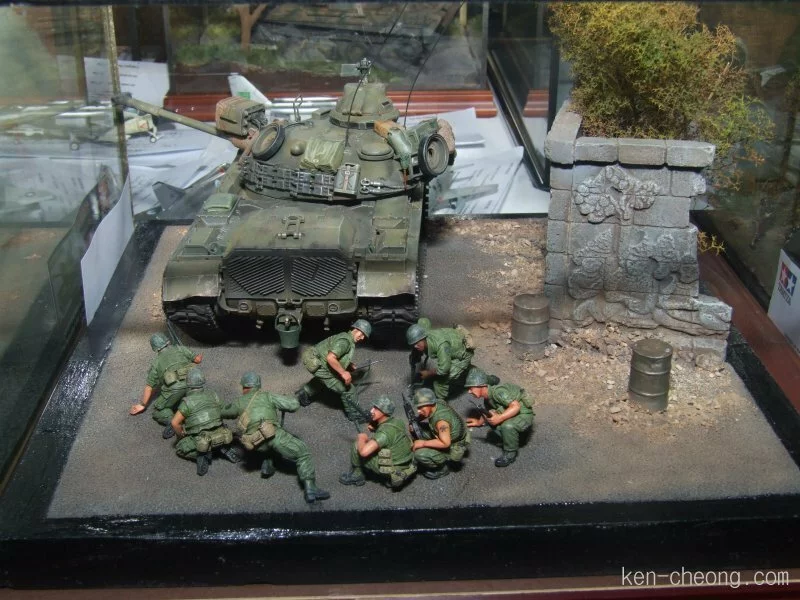
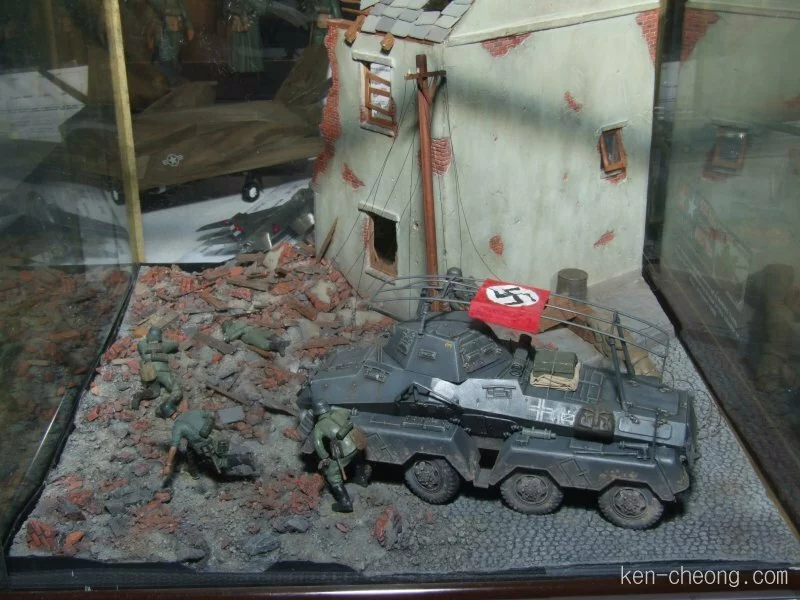
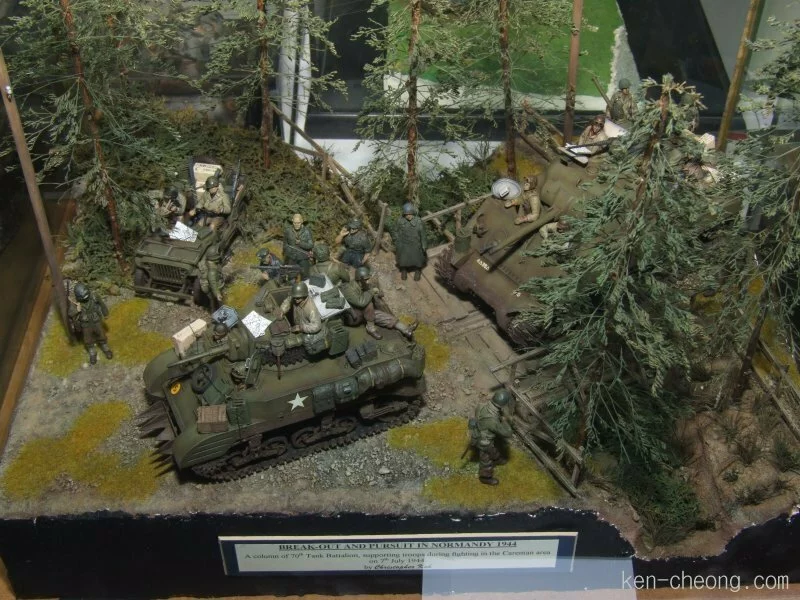
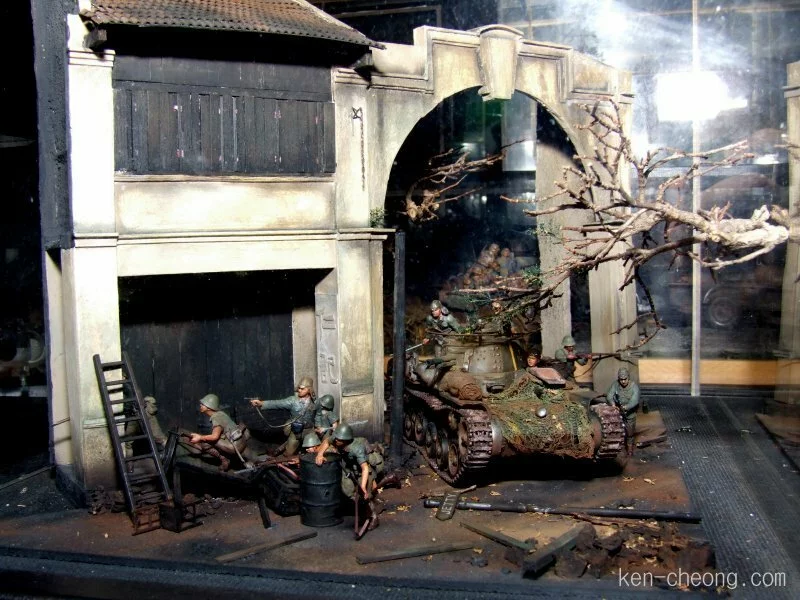
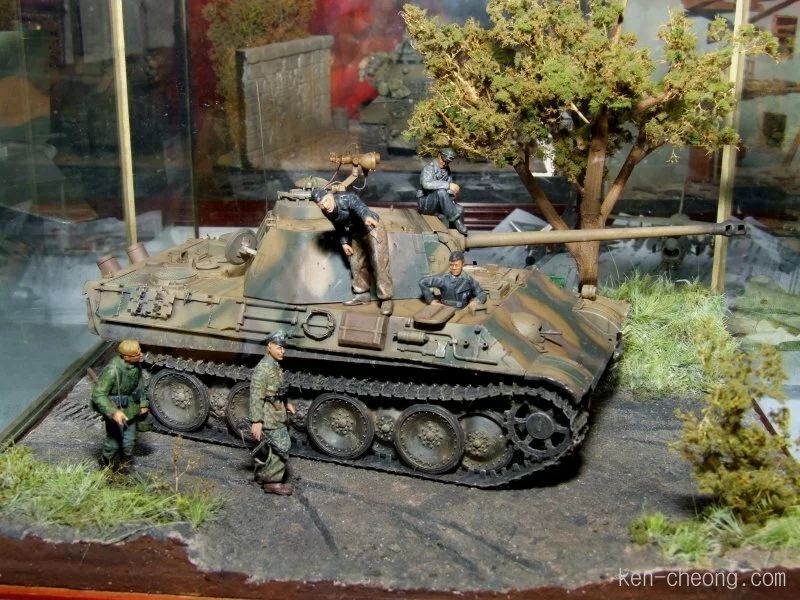
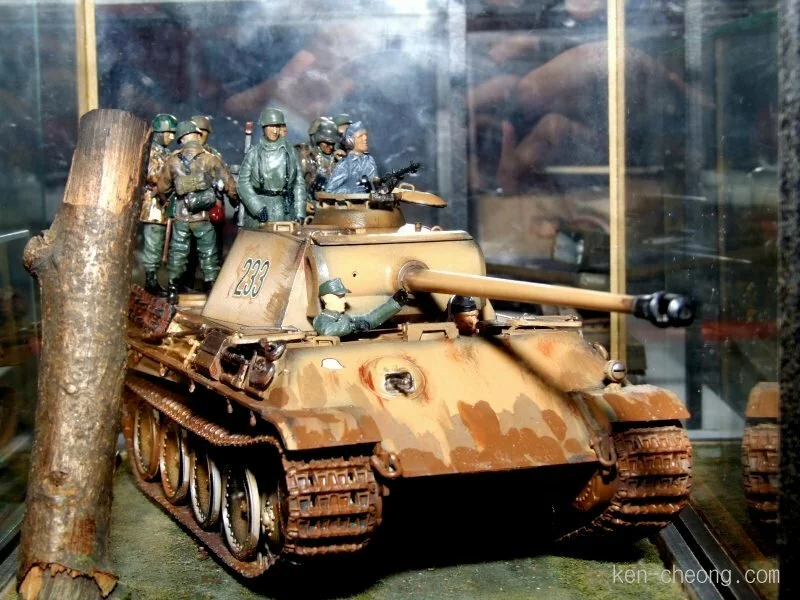
As mentioned is my earlier post, a plastic modeling competition organized by SFTPMS and sponsored by Tamiya Underground was held in 1 Utama from 12th to 16th July 2006.
Was there over the weekend and took quite a number of photo.
All photos taken with Fujifilm Finepix S9500 + Vivitar 728 flash.
Click on an image to view a larger version.
(more…)
Written by Ken on July 21st, 2006 with no comments.
Read more articles on Blog and Happening and Model Kit.
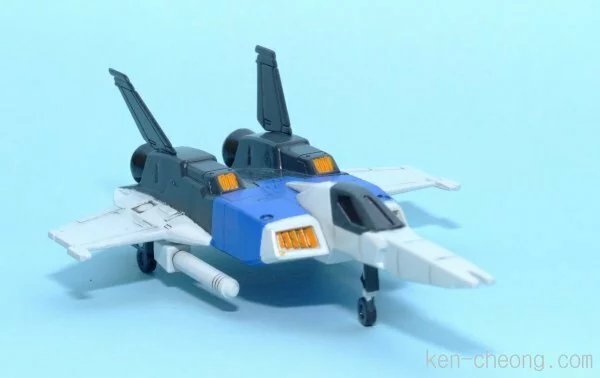
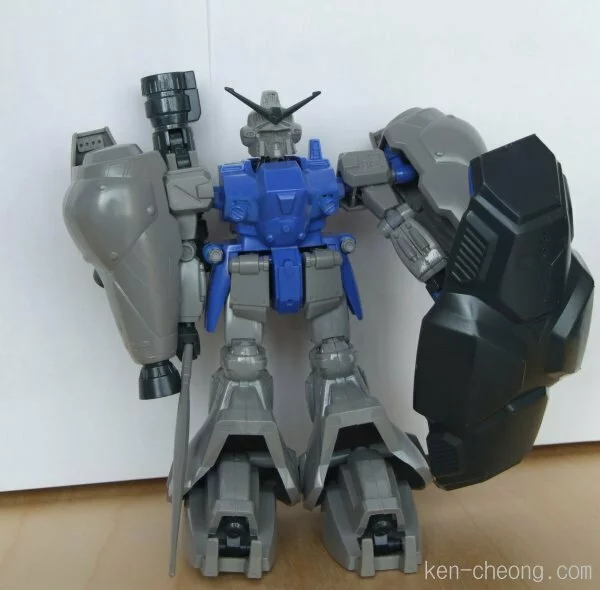
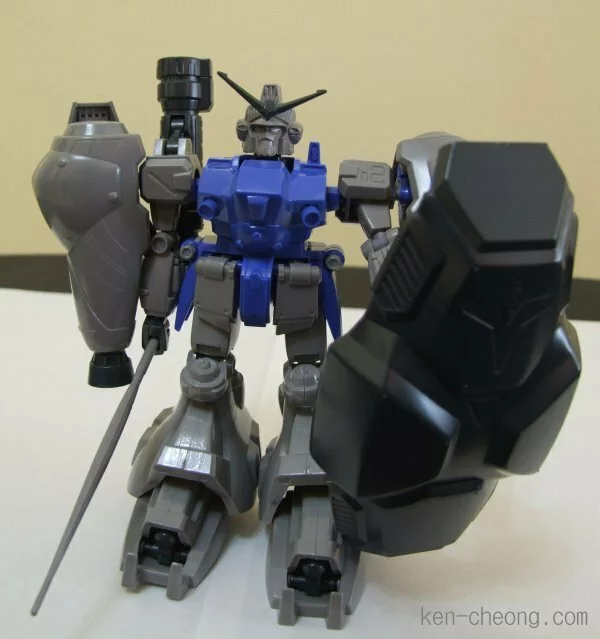
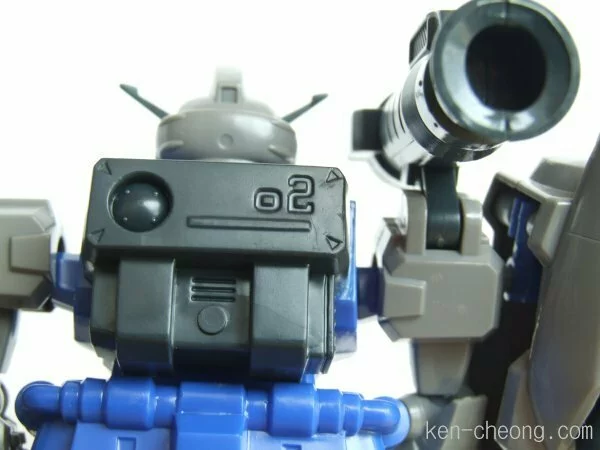
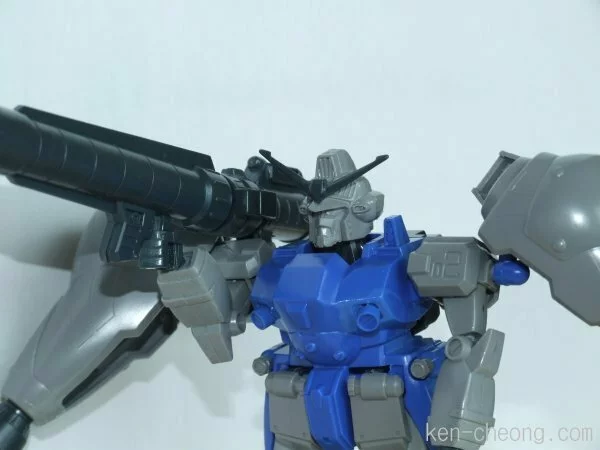
One day as I was tidying up my closet I found a box of Gundam model kit that I had forgotten I have. It was the Gundam RX-78 GP02, the one featured in the anime Gundam 0083 Stardust Memory.
I can faintly remember assembling it but totally cannot recall when and how I got it. Anyway, the Gundam has already been built and most parts had been glue tight with plastic cement. It was not very attractive as it was only in blue and grey colors so I thought I would give it a new lease of life by repainting it.
This is how the Gundam looks like when I found it. It is 1/144 scale no grade and almost impossible to post.
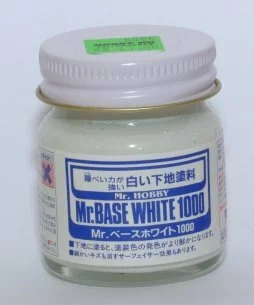
It is very hard to paint light color paint like yellow over darker color surface. In order to overcome this, I use Mr. Base White to prime the surface first before painting. Paint stick to the surface better after it is primed.
This is the Mr. Base White.
This is how the parts look like after being primed.
I only use Gunze Sangyo paints that I bought from a local hobby shop called Hobby HQ. This is the only hobby shop I found in Kuala Lumpur that has the most extensive range of paint available.
As I do not own an airbrush set so I had to resort to painting with paintbrush. Immediately after I started painting I realized that airbrush was the way to go so I am now on the look out for a decent airbrush and compressor set for future projects.
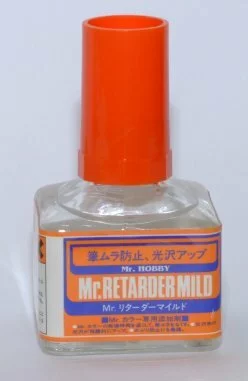
One of the problems with painting using paintbrush is that the paint dry too fast and this makes painting difficult. One way to make things easier is to drop a few drops of retarder to the thinner and paint mixture. The retarder will slow down the drying of the paint and gives you a little bit more time to finish painting.
This is the retarder that I used.
These are parts that had been painted.
I apply masking to make sure that I do not accidentally paint on the wrong area. Masking can be very tedious and time consuming and it requires a lot of patient, too but somehow I found myself liking it a lot.
Lastly, I use a Gundam marker to paint the panel lines. My Gundam marker is oil based and is difficult to remove if you make a mistake so I recommend to use a water-based market instead. Unfortunately for me I couldn’t find any water-based market. I only painted a few panel lines and refrained from painting all of them because I think it will make the Gundam looks too anime-ish.
And here it is. This is how the repainted Gundam looks like.
Coming up next, Gundam RX-78 GP01 but that is another story by itself.
Written by Ken on July 12th, 2006 with 13 comments.
Read more articles on Blog and Model Kit.
There will be a plastic modeling competition from the 12th to 16th July 2006. It will be held in 1 Utama. It is organized by the Selangor and Federal Territory Plastic Modelling Society (SFTPMS) and sponsored by Tamiya Underground.
Only Tamiya model kits are allowed to take part in this competition and entry fees are RM2 and RM5 for member and non-member of SFTPMS respectively.
For those who like to take part, you can find out more on how to by emailing your queries to . For those who are crazy about this sort of things, don’t forget to check out the competition entries at the time and place stated above. I know I’ll definitely be there.
Written by Ken on July 7th, 2006 with no comments.
Read more articles on Blog and Happening and Model Kit.