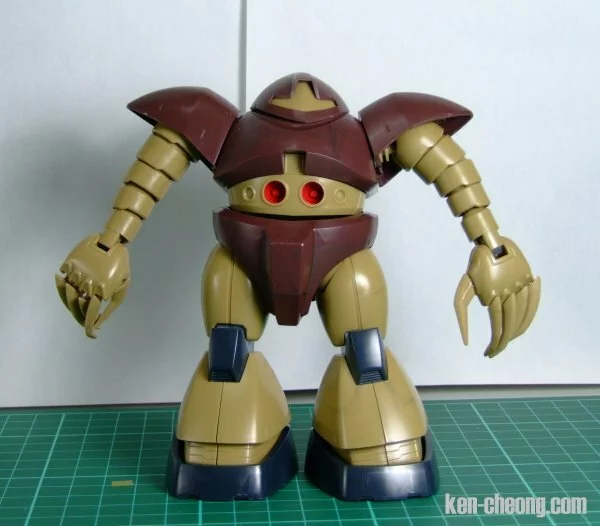
HGUC MSM-03 Gogg
|
|
I’ve finally got myself an airbrush and an air compressor. Actually I got it quite some time ago, even before I build my own spray booth. You can see the spray booth here. I just only recently started airbrushing.
To start things off I thought I use a cheap and simple kit as an experiment. After all, this is my first airbrush project and I don’t want to screw up a master grade of something like that. So the genie pig for this experimentation is… … … a HGUC 1/144 Gogg that I got for RM20 at the 2006 Malaysia BAKUC. You can see the BAKUC coverage in this post.
Below is a simple WIP for this project.
Pictures of snap fit Gogg.
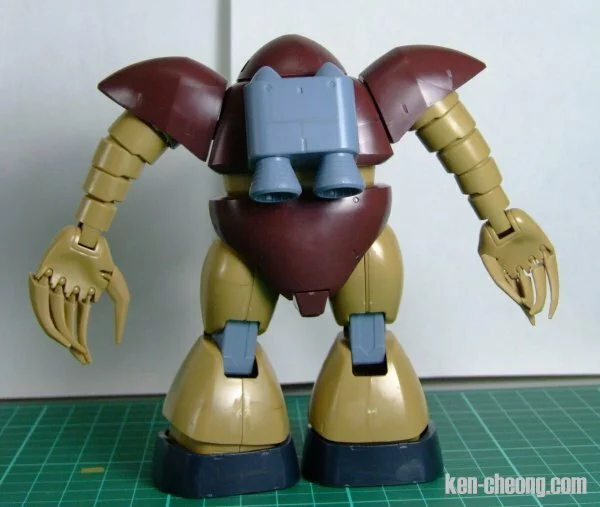
The body, shoulders, legs, and almost every part of the Gogg is pretty dull and uninteresting. I thought I make it more interesting my adding a few panel lines to it. I use masking tape to mark out the lines for scripting panel lines and use a homemade scriber to script the lines.

The scriber was made by inserting a suitable size needle into an old mechanical pencil. I learned this from the Dengeki magazine.
This is how the scripted backpack looks like. To make the lines wider, you can run a craft knife long the lines.
I only scripted a new panel lines and this is how the Gogg looks like with the new panel lines.
Now for painting. Parts are primed for the final paint job.
After airbrushing the whole kit, I do a wash for the panel lines using Tamiya acrylic paints, the water base type. And behold, the finished HGUC 1/144 MSM-03 Gogg.
Written by Ken on January 28th, 2007 with no comments.
Read more articles on Blog and Model Kit.
- [+] Digg: Feature this article
- [+] Del.icio.us: Bookmark this article
- [+] Furl: Bookmark this article