Gundam RX-78 GP01 WIP
|
|
I build the GP01 to complement my previously painted GP02. You can have a look at the GP02 here. The GP01 is a HGUC 1/144 and took me roughly two months to complete. There were a lot of new discoveries and trials and errors during the entire build process. I did a lot of things for the first time building the GP01 such as using putty to fill gaps and using oil paint to wash panel lines. I’ll show some of the things that I’ve done here in this post.
Using Putty:
As this is a HGUC 1/144 kit, there were lots of gaps between joined parts and I used Mr. Putty to fill these gaps. Using Mr. Putty can be frustrating because it dries too fast, way too fast. It practically dries up right after you squeeze it out of the tube. Because of this I had to work very fast. I used a skewer to apply the putty to the gaps but it would be better to use something with a thin and flat surface.
After the putty has cured, I used 1000 grid sand paper to sand it until smooth. After sanding I noticed that some gaps were still not filled properly but I was so frustrated with using putty, I just leave them be and not bother to apply another layer of putty.
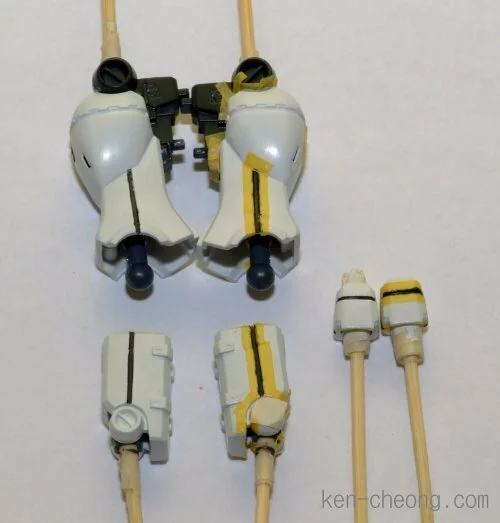
The pictures below show the before and after of sanding smooth the cured putty.
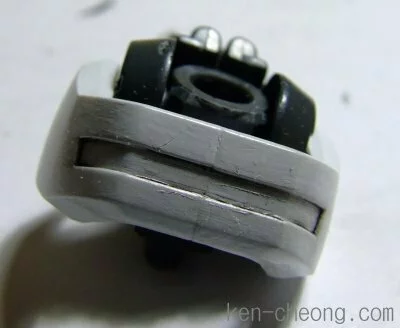
| Before sanding. |
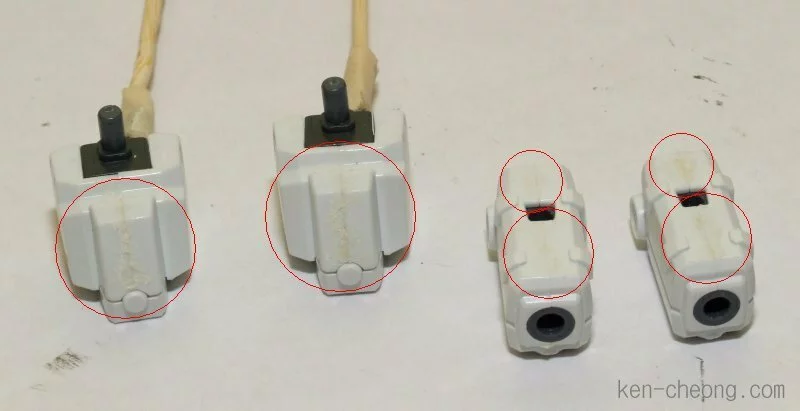
|
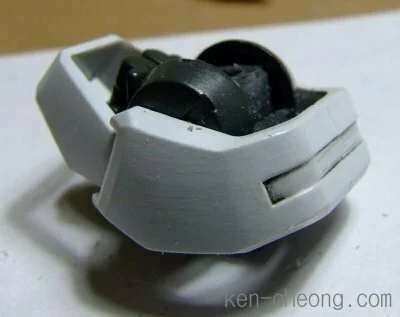
| After sanding. |
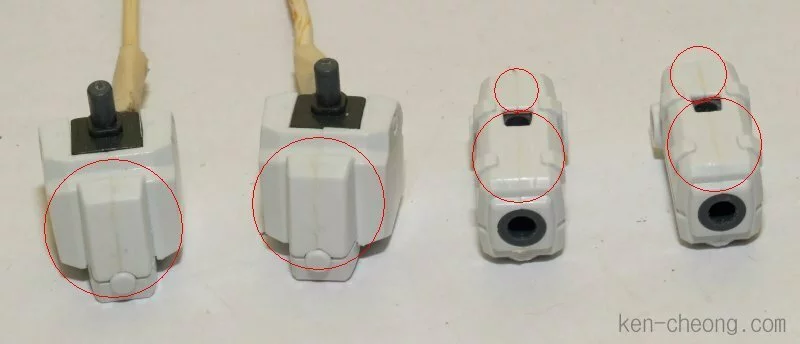
|
| More parts after sanding. |
|
|
Masking and Painting:
As I still do not own an airbrush set yet, I had to resort to hand painting with brushes. As before, I prime the parts with Mr. White Base first before painting. Painting was relatively straightforward. Just make sure that you add some Mr. Retarder Mild to the paint to prevent it from drying too fast.
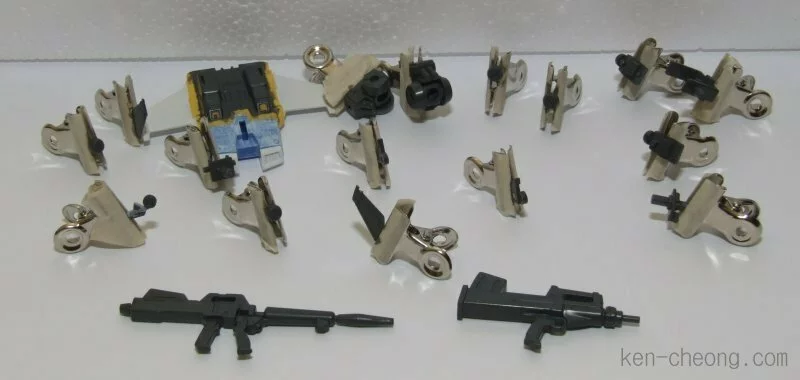
I also apply masking to certain parts to make sure that they don’t get painted over accidentally.
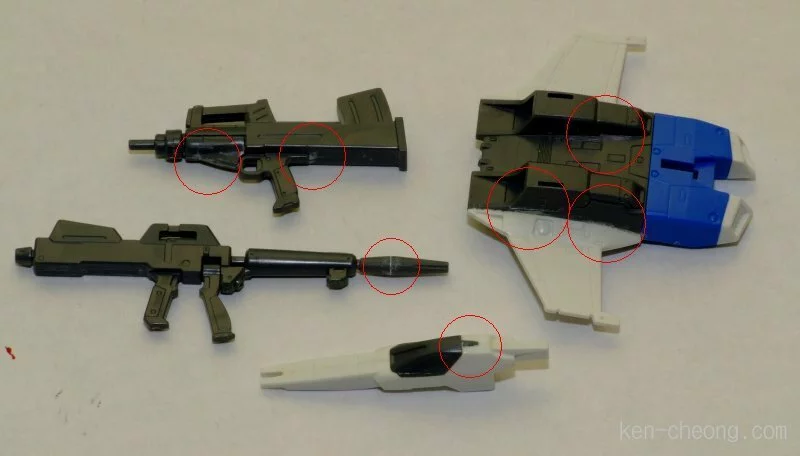
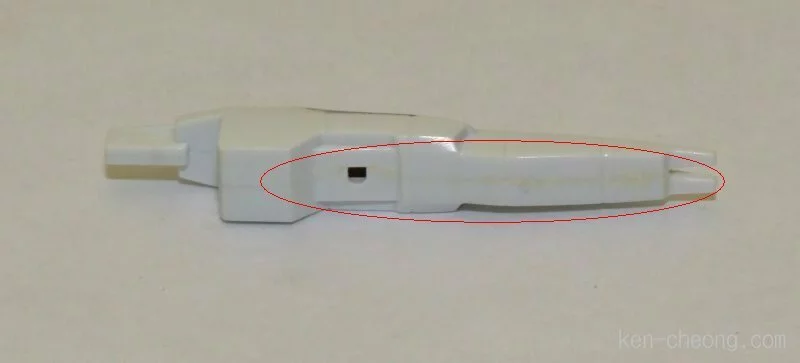
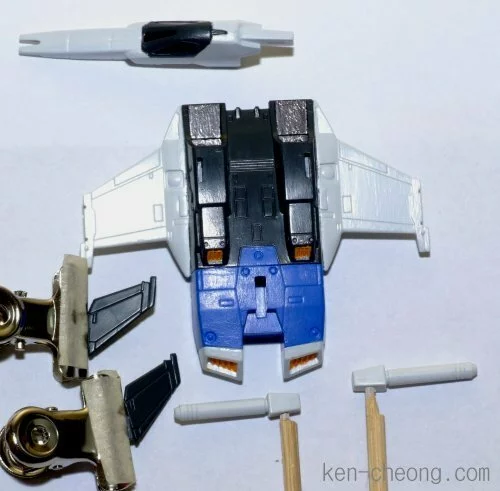
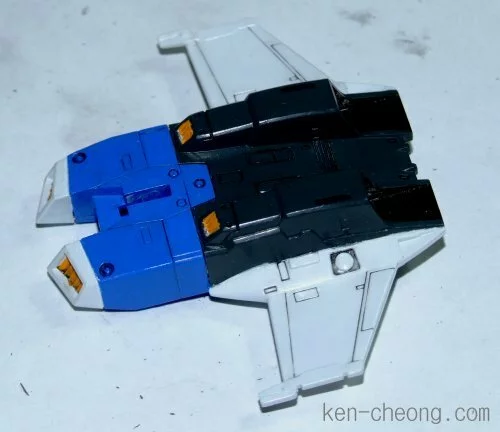
| Parts masked and painted. |
|
|
|
Panel Lining:
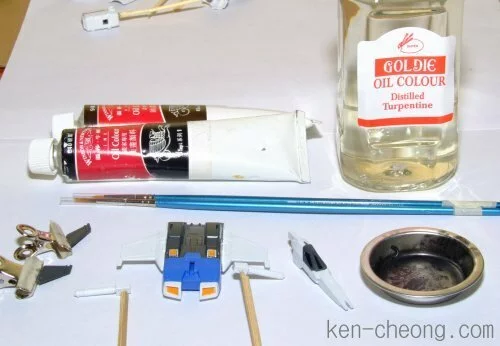
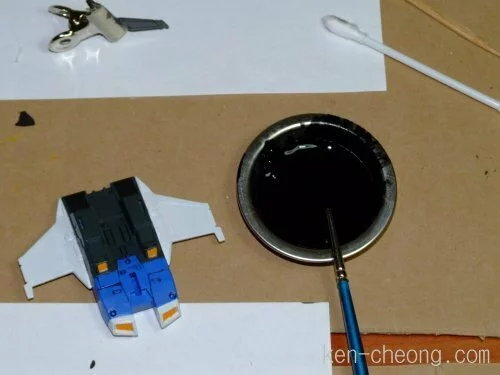
Panel lining was done after all parts had been painted. I used the wash technique with artist oil to paint the panel lines.
Artist oils are relatively cheap and a tube can last for approximately 20 light years. To thin the artist oil I use distilled turpentine. Thin the artist oil to a watery form and use a small brush to wash the panel lines. Most of the time you don’t have to paint over the entire panel line with the brush. Just make sure the brush had soaked up enough paint and simply place the brush tip at one end of the panel line and the paint will flow and fill the entire line. If it doesn’t then you’ll have to lightly paint over the line.
If you accidentally painted outside of the panel line, just wipe the paint off with a piece of tissue paper. I usually wait for about 30 seconds to a minute before wiping of excess paint. If there is still stain of the surface of the kit, just use a rubber eraser to rub it off.
One good point of using turpentine to thin the artist oil is that it dries very slowly and hence gives you more time to work but this is also its bad point. Since it dries very slowly, your fingers might accidentally touches the wet paint and then transfer it to other parts of the surface and make the whole thing a mess. But the mess can be easily cleaned up with a piece of tissue paper and a rubber eraser.
| Artist oil, distilled turpentine, and brush for panel line washing. |
|
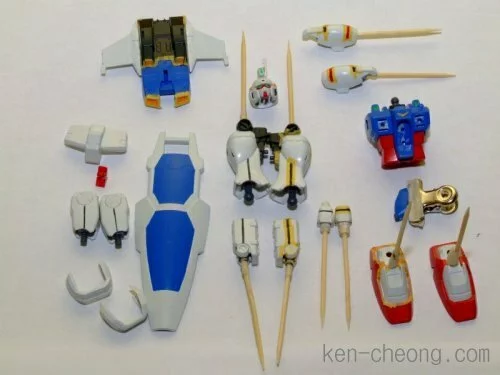
| Parts painted and ready for panel lining. |
|
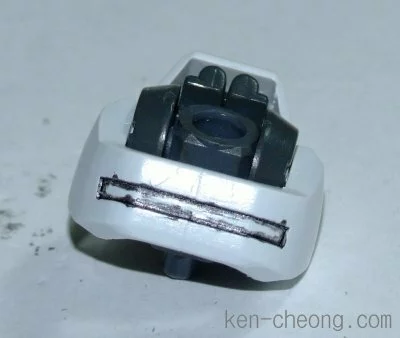
| During panel lining. |
|
|
|
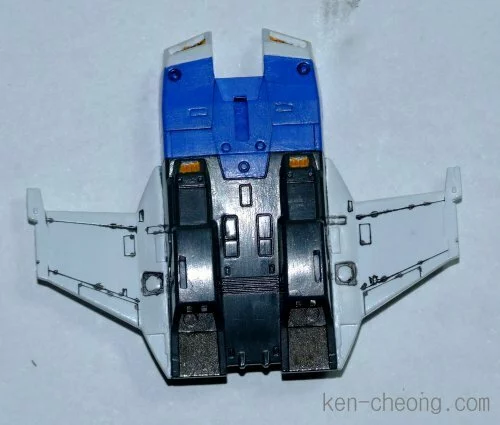
| After panel lining. |
|
|
|
See the gallery of the completed Gundam RX78 GP01 here.
Written by Ken on September 5th, 2006 with no comments.
Read more articles on Blog and Model Kit.
- [+] Digg: Feature this article
- [+] Del.icio.us: Bookmark this article
- [+] Furl: Bookmark this article